Image by author
Introduction
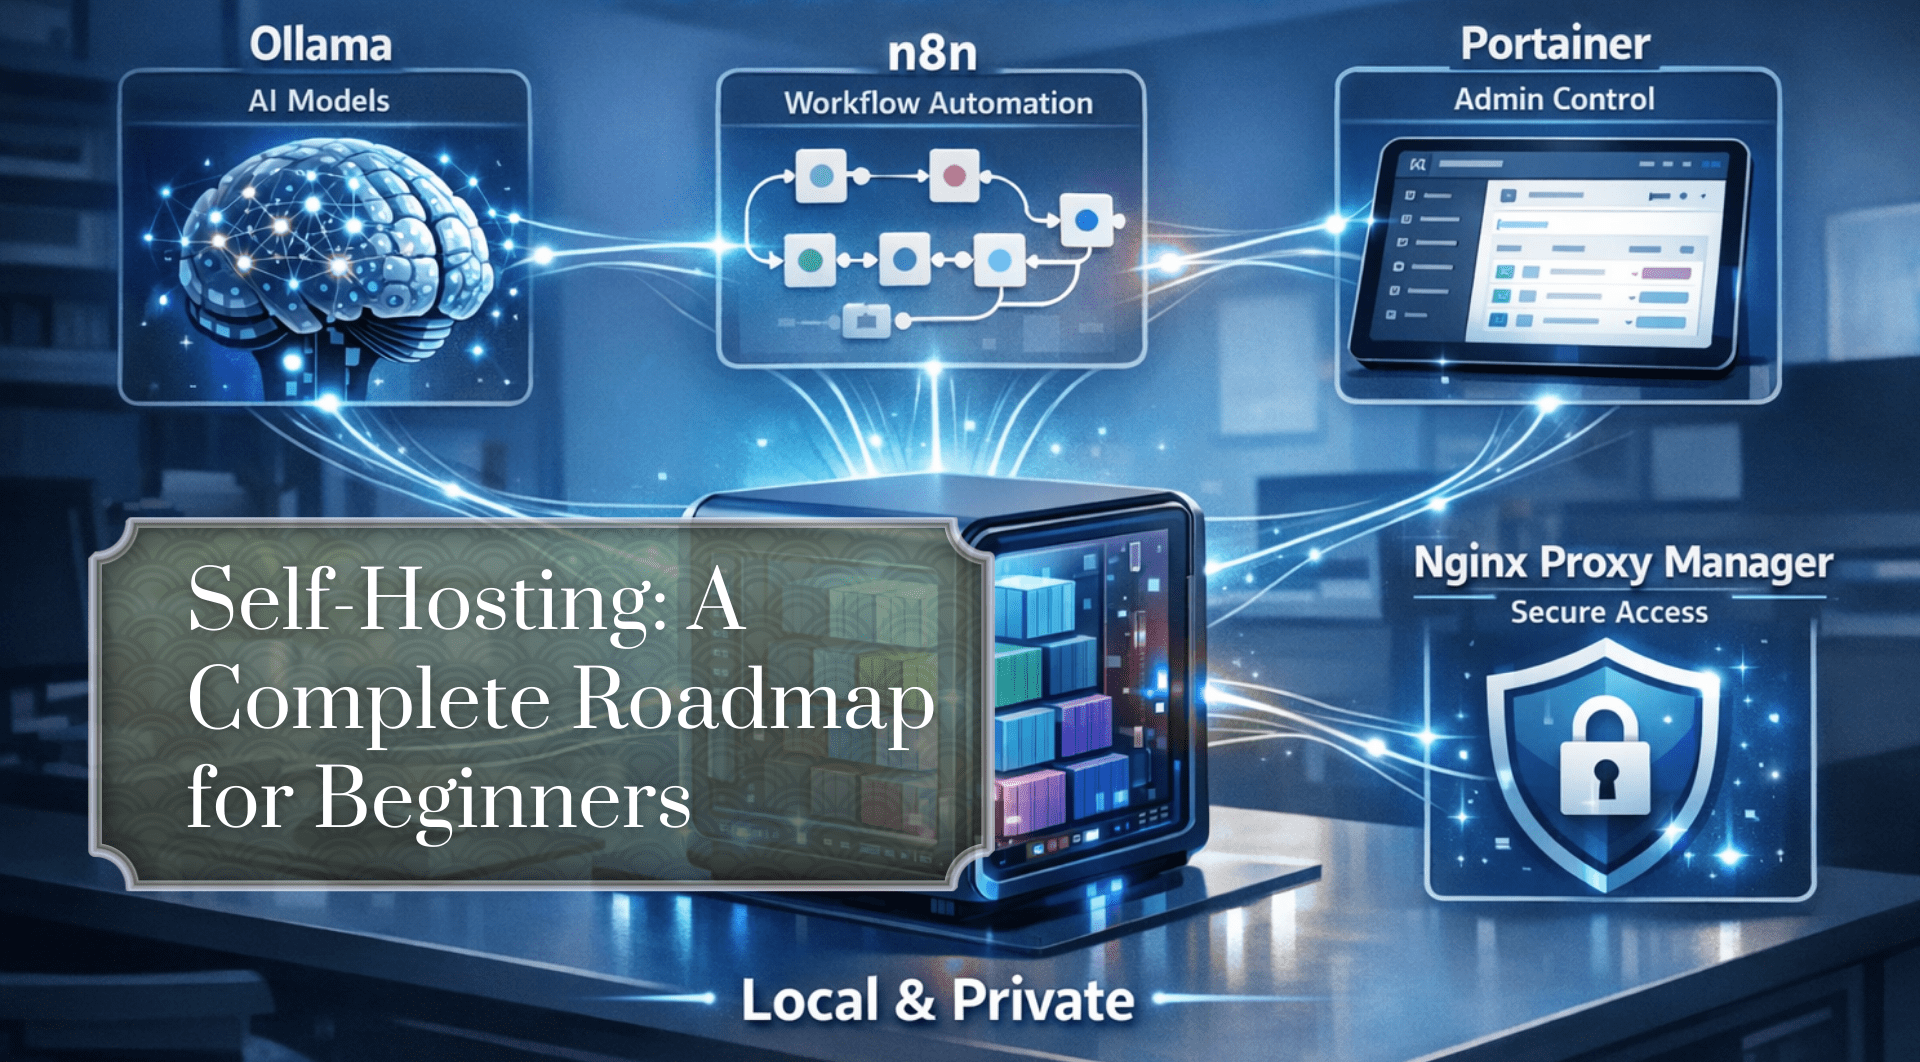
Building a local AI hub makes it possible to automate tasks, process private data and run custom assistants without relying on cloud services or paying recurring subscription fees. This guide walks through creating a self-hosted AI workflow hub on a home server for greater control and privacy. The setup combines four open-source tools: Docker for containerisation, Ollama for running local large language models, n8n for visual automation, and Portainer for managing the containers. It is aimed at a moderately powerful x86-64 system such as a mini-PC or an older desktop with at least 8 GB of RAM, which can comfortably run several services at once.
In plain terms, the result is a small private server that runs AI models locally and connects them to automated workflows, all on hardware the owner controls rather than a third-party cloud.
Why create a local AI hub?
Self-hosting shifts an operator from being a consumer of services to an owner of the underlying infrastructure. A local hub is private (your data never leaves your network), cost-effective (no application programming interface (API) fees), and completely customizable.
The core of this hub is a powerful set of objects where:
- Ollama acts as your personal, on-device AI brain, running models for text generation and analysis
- n8n acts as the nervous system, connecting Ollama to other apps (like calendar, email or files) to create automated workflows
- Docker is the foundation that packages each tool into separate, easy-to-manage containers.
// Key components of your self-hosted AI Hub
| tool | primary role | Main benefits for your hub |
|---|---|---|
| docker/portanr | Containerization and Management | Isolates apps, simplifies deployment, and provides a visual management dashboard |
| Olama | Local Large Language Model (LLM) Server | Runs AI models locally for privacy; Provides an API for other devices to use |
| n8n | Workflow Automation Platform | Visually connects Olama to other services (APIs, databases, files) to create powerful automations |
| Nginx proxy manager | Secure Access and Routing | Provides a secure web gateway for your services with easy SSL certificate setup |
Preparing Your Server Foundation
First, make sure your server is ready. We recommend a clean install of Ubuntu Server LTS or similar Linux distribution. Once installed, connect to your server via secure shell (SSH). The first and most important step is to install Docker, which will run all of our subsequent tools.
// Installing Docker and Docker Compose
Run the following commands in your terminal to install Docker and Docker Compose. Docker Compose is a tool that lets you define and manage multi-container applications with a simple YAML file.
sudo apt update && sudo apt upgrade -y
sudo apt install apt-transport-https ca-certificates curl software-properties-common -y
curl -fsSL https://download.docker.com/linux/ubuntu/gpg | sudo apt-key add -
sudo add-apt-repository "deb (arch=amd64) https://download.docker.com/linux/ubuntu $(lsb_release -cs) stable"
sudo apt update
sudo apt install docker-ce docker-ce-cli containerd.io docker-compose-plugin -y
// Verifying and setting permissions
Verify installation and add your user to the Docker group to run commands without sudo: :
sudo docker version
sudo usermod -aG docker $USER
Output:

You will need to log out and then log in again for this to take effect.
// Arrangement with Portainer
Instead of using just the command line, we will deploy Portainer, a web-based graphical user interface (GUI) to manage Docker. Create a directory for it and a docker-compose.yml File with the following command.
mkdir -p ~/portainer && cd ~/portainer
nano docker-compose.yml
Paste the following configuration into the file. This tells Docker to download the Portainer image, restart it automatically, and expose its web interface on port 9000.
services:
  portainer:
    image: portainer/portainer-ce:latest
    container_name: portainer
    restart: unless-stopped
    ports:
      - "9000:9000"
    volumes:
      - /var/run/docker.sock:/var/run/docker.sock
      - portainer_data:/data

volumes:
  portainer_data:
Save the file (Ctrl+X, then Y, then Enter). Now, deploy Portainer:
Your output should look like this:

Navigate http://YOUR_SERVER_IP:9000 In your browser. For me, it is http://localhost:9000

You may need to restart the server. You can do this with the following command:
sudo docker start portainerCreate an administrator account:
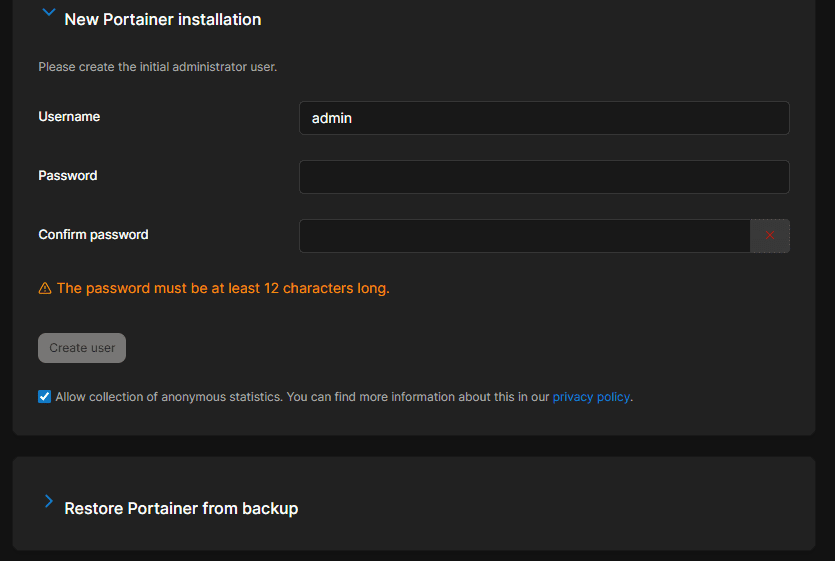
And after creating the account, you will see the Portainer dashboard.

This is your mission control for all other containers. You can start, stop, view logs, and manage every other service from here.
Installing Ollama: Your Local AI Engine
Ollama is a tool designed to easily run open-source large language models (LLMs) like Llama 3.2 or Mistral locally. It provides a simple API that n8n and other apps can use.
// Deploying Ollama with Docker
While Ollama can be installed directly, the use of Docker ensures stability. Create a new directory and a docker-compose.yml For this file with the following command.
mkdir -p ~/ollama && cd ~/ollama
nano docker-compose.yml
Use this configuration. volumes The line is important because it stores your downloaded machine learning models persistently, so you don’t lose them when the container is restarted.
services:
  ollama:
    image: ollama/ollama:latest
    container_name: ollama
    restart: unless-stopped
    ports:
      - "11434:11434"
    volumes:
      - ollama_data:/root/.ollama

volumes:
  ollama_data:
Deploy this: docker compose up -d
// Drawing and running your first model
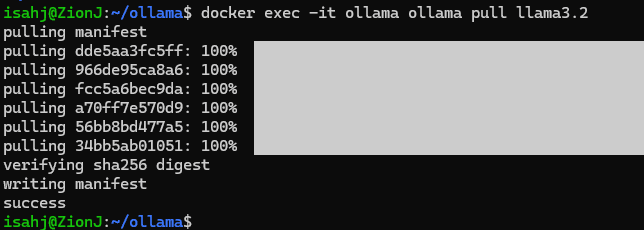
Once the container is running, you can draw a model. Let’s start with a capable yet efficient model like the Llama 3.2.
This command is executed ollama pull llama3.2 Inside the running container:
docker exec -it ollama ollama pull llama3.2Task Performance: Interrogating the Ollama
Now you can interact directly with your local AI. The following command sends a signal to the model running inside the container.
docker exec -it ollama ollama run llama3.2 "Write a short haiku about technology."You should see a generated poem in your terminal. More importantly, Ollama’s API is now available here http://YOUR_SERVER_IP:11434 For use with n8n.

Integrating n8n for Intelligent Automation
n8n is a visual workflow automation tool. You can drag and drop nodes to create sequences; For example, “When I save a document, summarize it with Ollama, then send the summary to my Notes app.”
// deploying n8n with docker
Create a directory for n8n. We will use a compose file that contains a database for n8n to save your workflow and execution data.
mkdir -p ~/n8n && cd ~/n8n
nano docker-compose.yml
Now paste the following inside the YAML file:
services:
  n8n:
    image: n8nio/n8n:latest
    container_name: n8n
    restart: unless-stopped
    ports:
      - "5678:5678"
    environment:
      - N8N_PROTOCOL=http
      - WEBHOOK_URL=http://YOUR_SERVER_IP:5678/
      - N8N_ENCRYPTION_KEY=your_secure_encryption_key_here
      - DB_TYPE=postgresdb
      - DB_POSTGRESDB_HOST=db
      - DB_POSTGRESDB_PORT=5432
      - DB_POSTGRESDB_DATABASE=n8n
      - DB_POSTGRESDB_USER=n8n
      - DB_POSTGRESDB_PASSWORD=your_secure_db_password
    volumes:
      - n8n_data:/home/node/.n8n
    depends_on:
      - db

  db:
    image: postgres:17-alpine
    container_name: n8n_db
    restart: unless-stopped
    environment:
      - POSTGRES_USER=n8n
      - POSTGRES_PASSWORD=your_secure_db_password
      - POSTGRES_DB=n8n
    volumes:
      - postgres_data:/var/lib/postgresql/data

volumes:
  n8n_data:
  postgres_data:
replace the your_server_ip And placeholder password. deploy with docker compose up -d. reach n8n http://YOUR_SERVER_IP:5678.
Performance: Creating Your First AI Workflow
Let’s create a simple workflow where n8n uses Ollama to act as a creative writing assistant.
- In the n8n editor, add a “Schedule Trigger” node and set it to run manually for testing
- Add an “HTTP Request” node. Configure this to call your Ollama API:
- Method: Post
- URL: http://ollama:11434/api/generate
- Set main content type to JSON
- In the JSON body, enter: {“model”: “llama3.2”, “prompt”: “Generate three ideas for a sci-fi short story.”}
- Add a “set” node to extract only text from Ollama’s JSON response. set value to
{{ $json("response") }} - Add a “code” node and use a simple line
items = ({"json": {"story_ideas": $input.item.json}}); return items;To format data - Finally, connect a “Send Email” node (as configured with your email service) or “Save to File” node to output the results.
Click “Execute Workflow”. n8n will send signals to your local Ollama container, receive the response and processes it. You’ve just created a personal, automated AI assistant.
Securing Your Hub with Nginx Proxy Manager
Now you have services on different ports (Portainer: 9000, n8n: 5678). Nginx Proxy Manager (NPM) lets you access them through clean subdomains (like Portainer.home.net) with free secure socket layer (SSL) encryption from Let’s Encrypt.
// Deploying Nginx Proxy Manager
Create a final directory for npm.
mkdir -p ~/npm && cd ~/npm
nano docker-compose.yml
Paste the following code into your YAML file:
services:
  app:
    image: 'jc21/nginx-proxy-manager:latest'
    container_name: nginx-proxy-manager
    restart: unless-stopped
    ports:
      - '80:80'
      - '443:443'
      - '81:81'
    volumes:
      - ./data:/data
      - ./letsencrypt:/etc/letsencrypt

volumes:
  data:
  letsencrypt:
deploy with docker compose up -d.
admin panel is here http://YOUR_SERVER_IP:81. Log in with the default credentials (admin@example.com/changeme) and change them immediately.
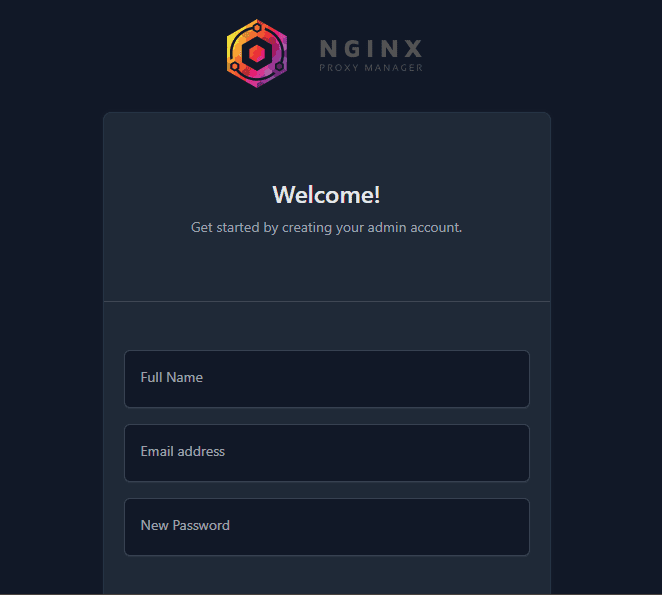
Performance: securing n8n access
- In your home router, forward ports 80 and 443 to your server’s internal Internet Protocol (IP) address. This is the only necessary port forwarding
- In npm’s admin panel (your-server-ip:81), go to Hosts -> Proxy Hosts -> Add Proxy Host.

- For n8n, fill in the details:
- Domain: n8n.yourdomain.com (or a subdomain you own that points to your home IP)
- Plan: http
- Forward hostname/IP: n8n (Docker’s internal network resolves the container name!)
- Forward Port: 5678
- Click SSL and request a Let’s Encrypt certificate, forcing SSL
You can now access n8n securely at https://n8n.yourdomain.com. Repeat for Portainer (Portainer.yourdomain.com forwards to Portainer:9000).
Limitations and what to watch
A self-hosted AI hub trades convenience for control, and that trade-off has real costs. Hardware is the main constraint: a machine with around 8 GB of RAM can typically run only smaller, quantised models, and larger models need considerably more memory or a dedicated GPU. CPU-only inference works but can be slow for bigger models, so expectations should be set accordingly.
Security deserves particular care. Exposing services to the internet through router port forwarding increases the attack surface, so default credentials should be changed immediately, software kept up to date, and access ideally restricted through a VPN rather than open ports where possible. Self-hosting also means owning ongoing maintenance, including updates, backups and uptime, which a managed cloud service would otherwise handle.
Finally, locally run open models may not match the quality of the strongest cloud-hosted models for every task, and tool versions, default ports and exact commands change over time. The specific steps here illustrate one working approach, but current documentation for Docker, Ollama, n8n, Portainer and Nginx Proxy Manager should be checked for the latest details before deploying.
Conclusion
You now have a fully functional, personal AI automation hub. Your next steps might be:
- Extension of Ollama: Experiment with different models like Mistral for speed or Code Llama for programming tasks
- Advanced n8n workflows: Connect your Hub to external APIs (Google Calendar, Telegram, RSS feeds) or internal services (like local file servers)
- Supervision: Add a tool like Uptime Kuma (also deployed via Docker) to monitor the status of all your services
This setup turns your modest hardware into a powerful, personal digital brain. You control the software, own the data, and pay no ongoing fees. The skills you’ve learned managing containers, orchestrating services, and automating with AI are the foundation of modern, independent technology infrastructure.
// Further reading
Shittu Olumide He is a software engineer and technical writer who is passionate about leveraging cutting-edge technologies to craft compelling narratives, with a keen eye for detail and the ability to simplify complex concepts. You can also find Shittu Twitter.
