

Image by editor
# Introduction
For the past few years, the artificial intelligence (AI) revolution in coding has made it feel like there’s a very sharp junior developer sitting next to you. equipment such as GitHub Copilot Or cursor You were amazing at finishing your sentences, but you were still holding the steering wheel at every turn. You had to copy-paste snippets, fix imports and manually run tests to see if the AI actually knew what it was talking about.
We’re officially moving on from that. google antigravity marks the beginning of”agent-first“Epoch. It’s not just a co-pilot; it’s a platform where you stop being a typist and start being an architect. Google chose the name “AntiGravity” for a very specific reason. In traditional development, there’s a huge amount of “gravity” – the heavy, tedious load of setting up the environment, debugging boilerplate, and jumping between terminal, browser, and editor. Antigravity is supposed to provide the liftoff. It’s designed to pull you out of low-level syntax and elevate you to a higher, action-oriented level.
Instead of writing code line-by-line, you provide the vision. Integrated development environments (IDEs) handle autonomous agent creation, testing, and validation.
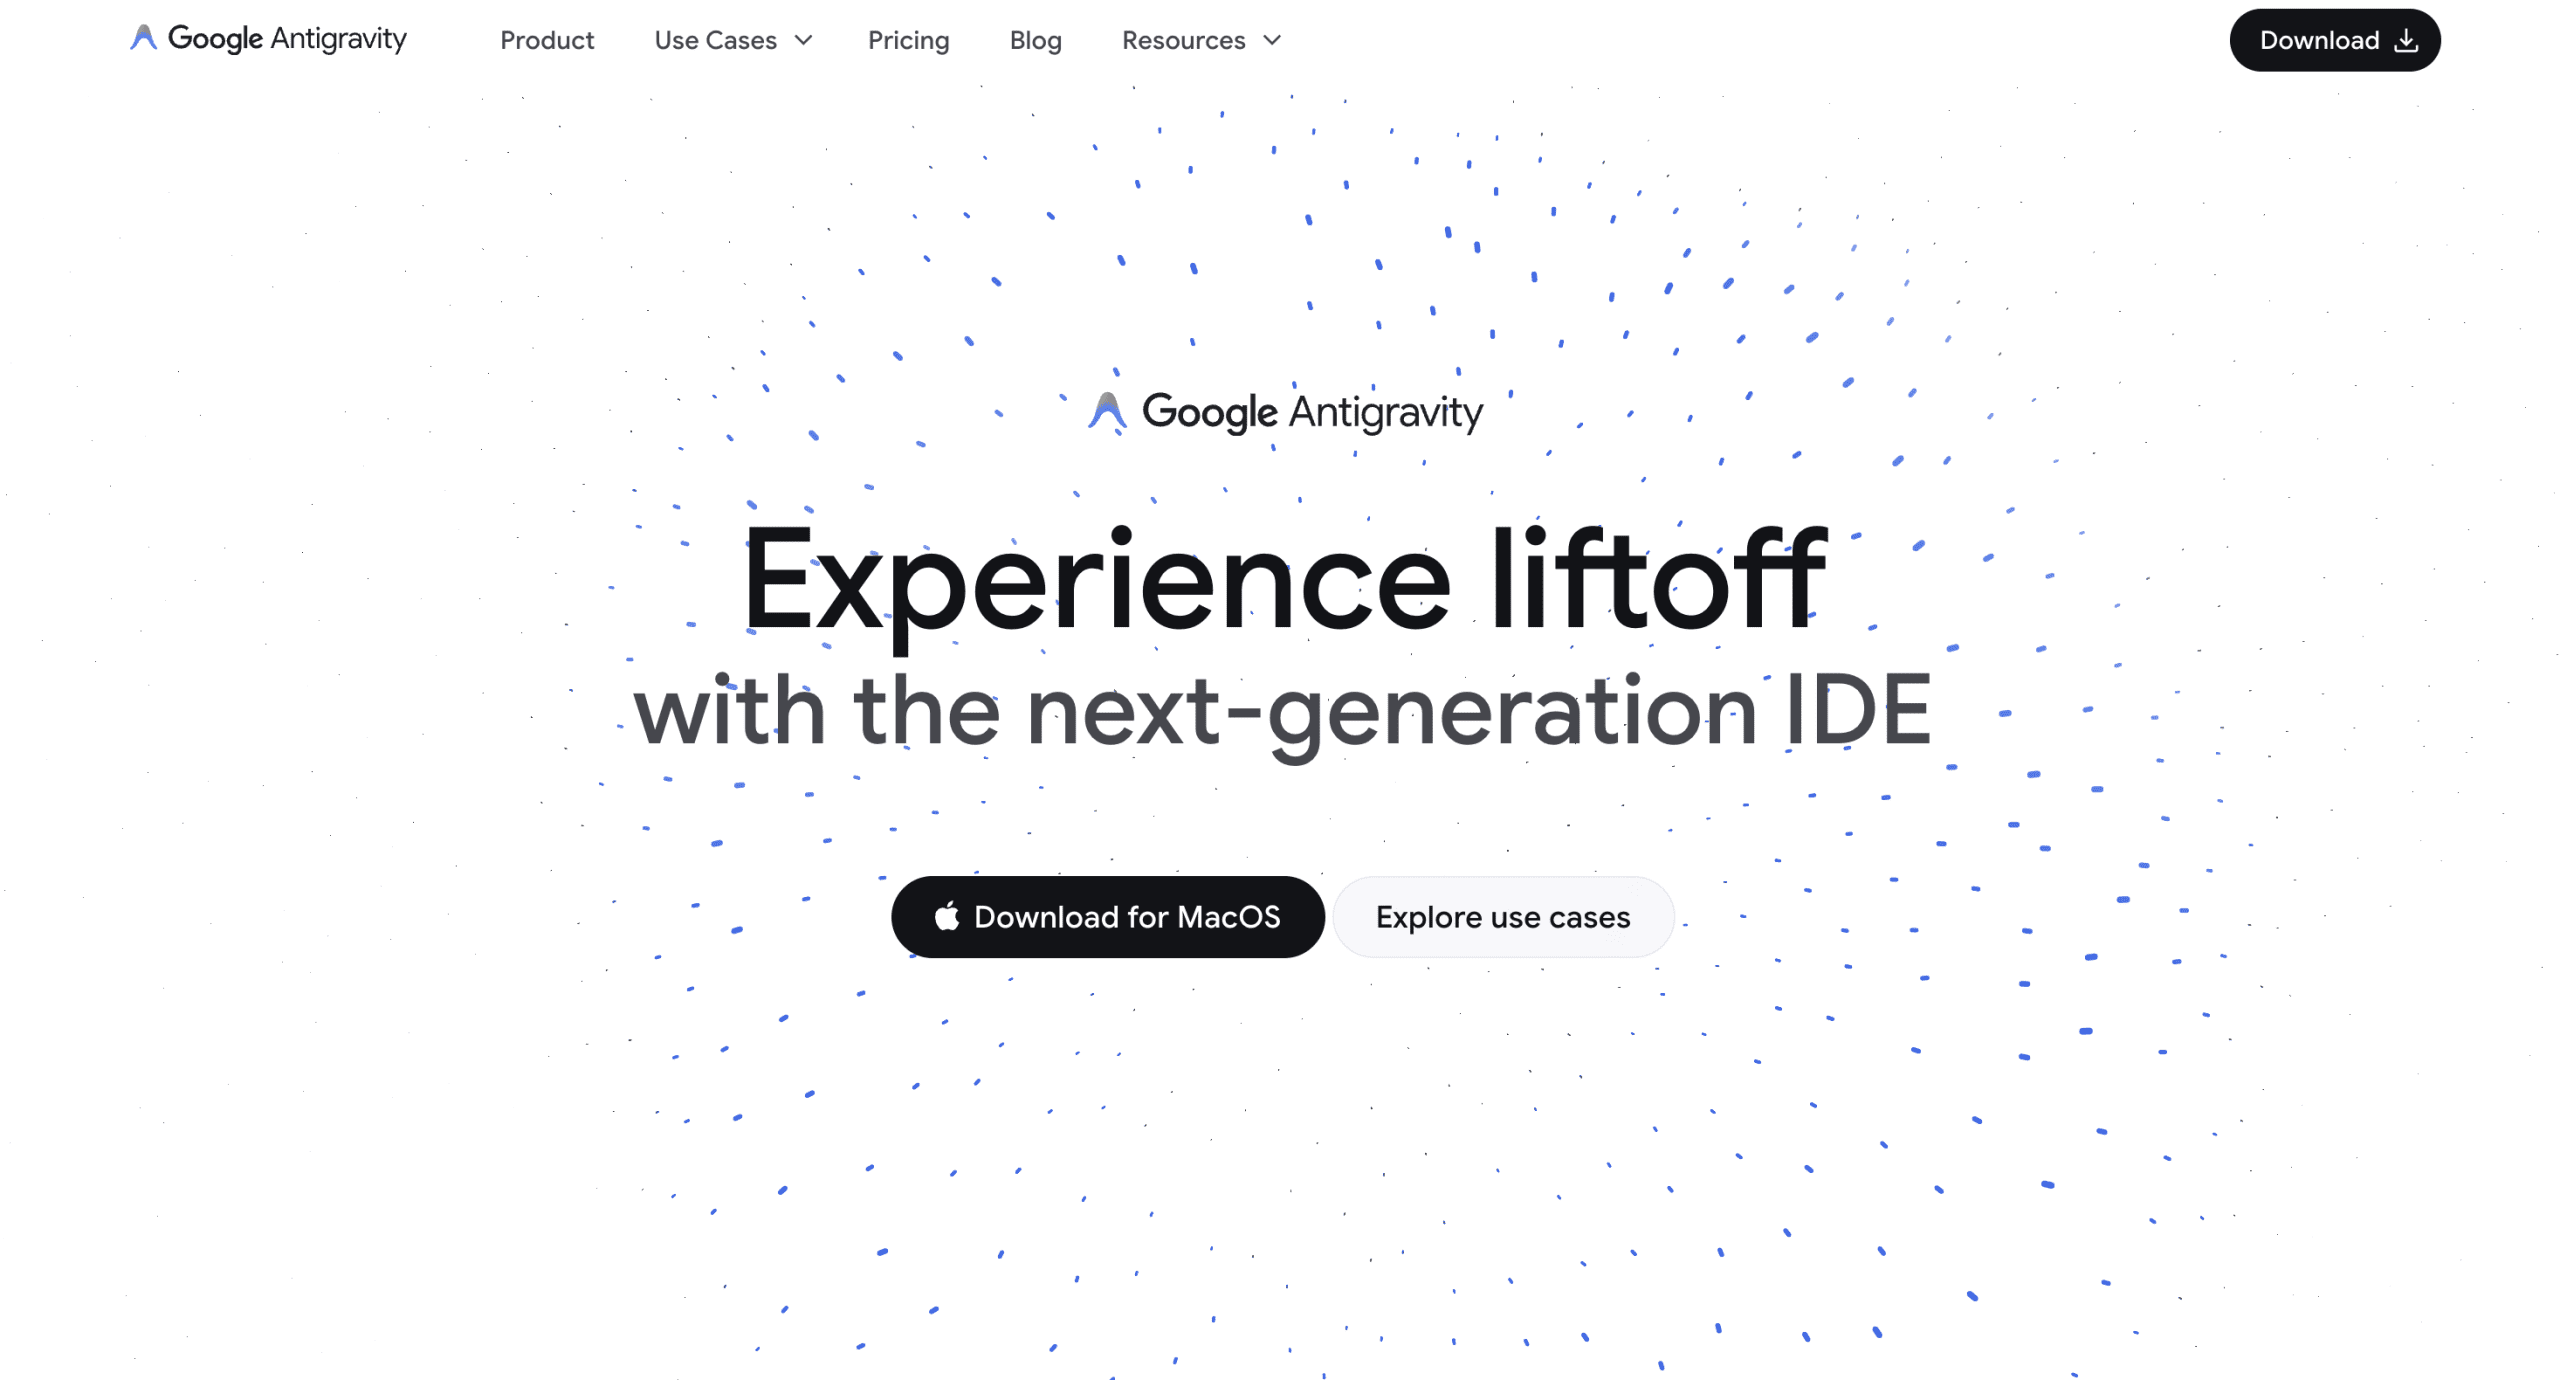
Google Antigravity Landing Page | Image by author
The story of Antigravity is actually the story of Google returning to its roots. On November 18, 2025, Google unveiled AntiGravity with the launch of its gemini 3 Ideal family. One of the most surprising parts of the Antigravity launch was the return of Google co-founder Sergey Brin. After years away from daily operations, Brin reportedly “installer mode,” working late nights with engineers to refine the IDE’s agentive capabilities. His goal was to move Google from “Search” To “action,” and antigravity is the primary instrument of that mission.
Antigravity did not appear out of thin air. Most of it comes from a startup called DNA windsurf. Google realized that the Windsurf team had cracked the code on how AI agents should interact with IDEs, so they acquired the team in a massive $2.4 billion deal to lead the development of what we now know as AntiGravity.
Why didn’t Google add these features to existing tools? Because traditional IDEs – like visual studio code (VS Code) – Were made for humans to type. He believes that humans are the primary actor. AntiGravity is rebuilt from the ground up, assuming that the AI agent is the primary worker. This is a workbench that is “designed for”vibe coding,” where the speed of your thoughts is the only thing that matters, not the speed of your typing.
# Getting Started with Antigravity
Before you can start orchestrating agents, you need to get the software on your machine. Because AntiGravity is built on a fork of VS Code, the installation process feels familiar; However, there are some system-specific things to keep in mind to ensure that AI agents have enough resources to run smoothly.
// System Requirements
AntiGravity is not a lightweight text editor; It is running local models and browser-based agents. Here’s what you need:
- Mac OS: You need Monterey (version 12) or later. While Intel Macs are supported, the experience is optimized for Apple silicon (M1/M2/M3/M4), as native AI inference relies heavily on the integrated memory architecture.
- Windows: You need a 64-bit version of Windows 10 or 11. It is highly recommended to install the IDE on your primary system drive (usually the C: drive) to avoid any permission issues when the AI Agent tries to execute terminal commands.
- Linux: It supports most modern distributions like Ubuntu (20.04+), Debian (10+), and Fedora (36+). Just make sure you have glibc 2.28 or higher
// download process
To get the legitimate, latest version, skip the third-party mirrors and go straight to the official source: antigravity.google/download
Once there, you’ll see specific installers for each operating system (OS). Download the one that matches your machine, run the installer and launch the application. You’ll be asked to set your theme and describe how you want to use the AntiGravity Agent (Please stick to the recommended review-driven development approach). Then, you will be asked “Sign in with Google.” Use the Gmail account you want to associate with your AI quota and cloud project.
Signing in with Google to sync cloud projects Image by author
# Navigating the Interface
The layout is designed to save you from alt-tabbing between different windows. Here are the five areas you’ll spend the most time in:
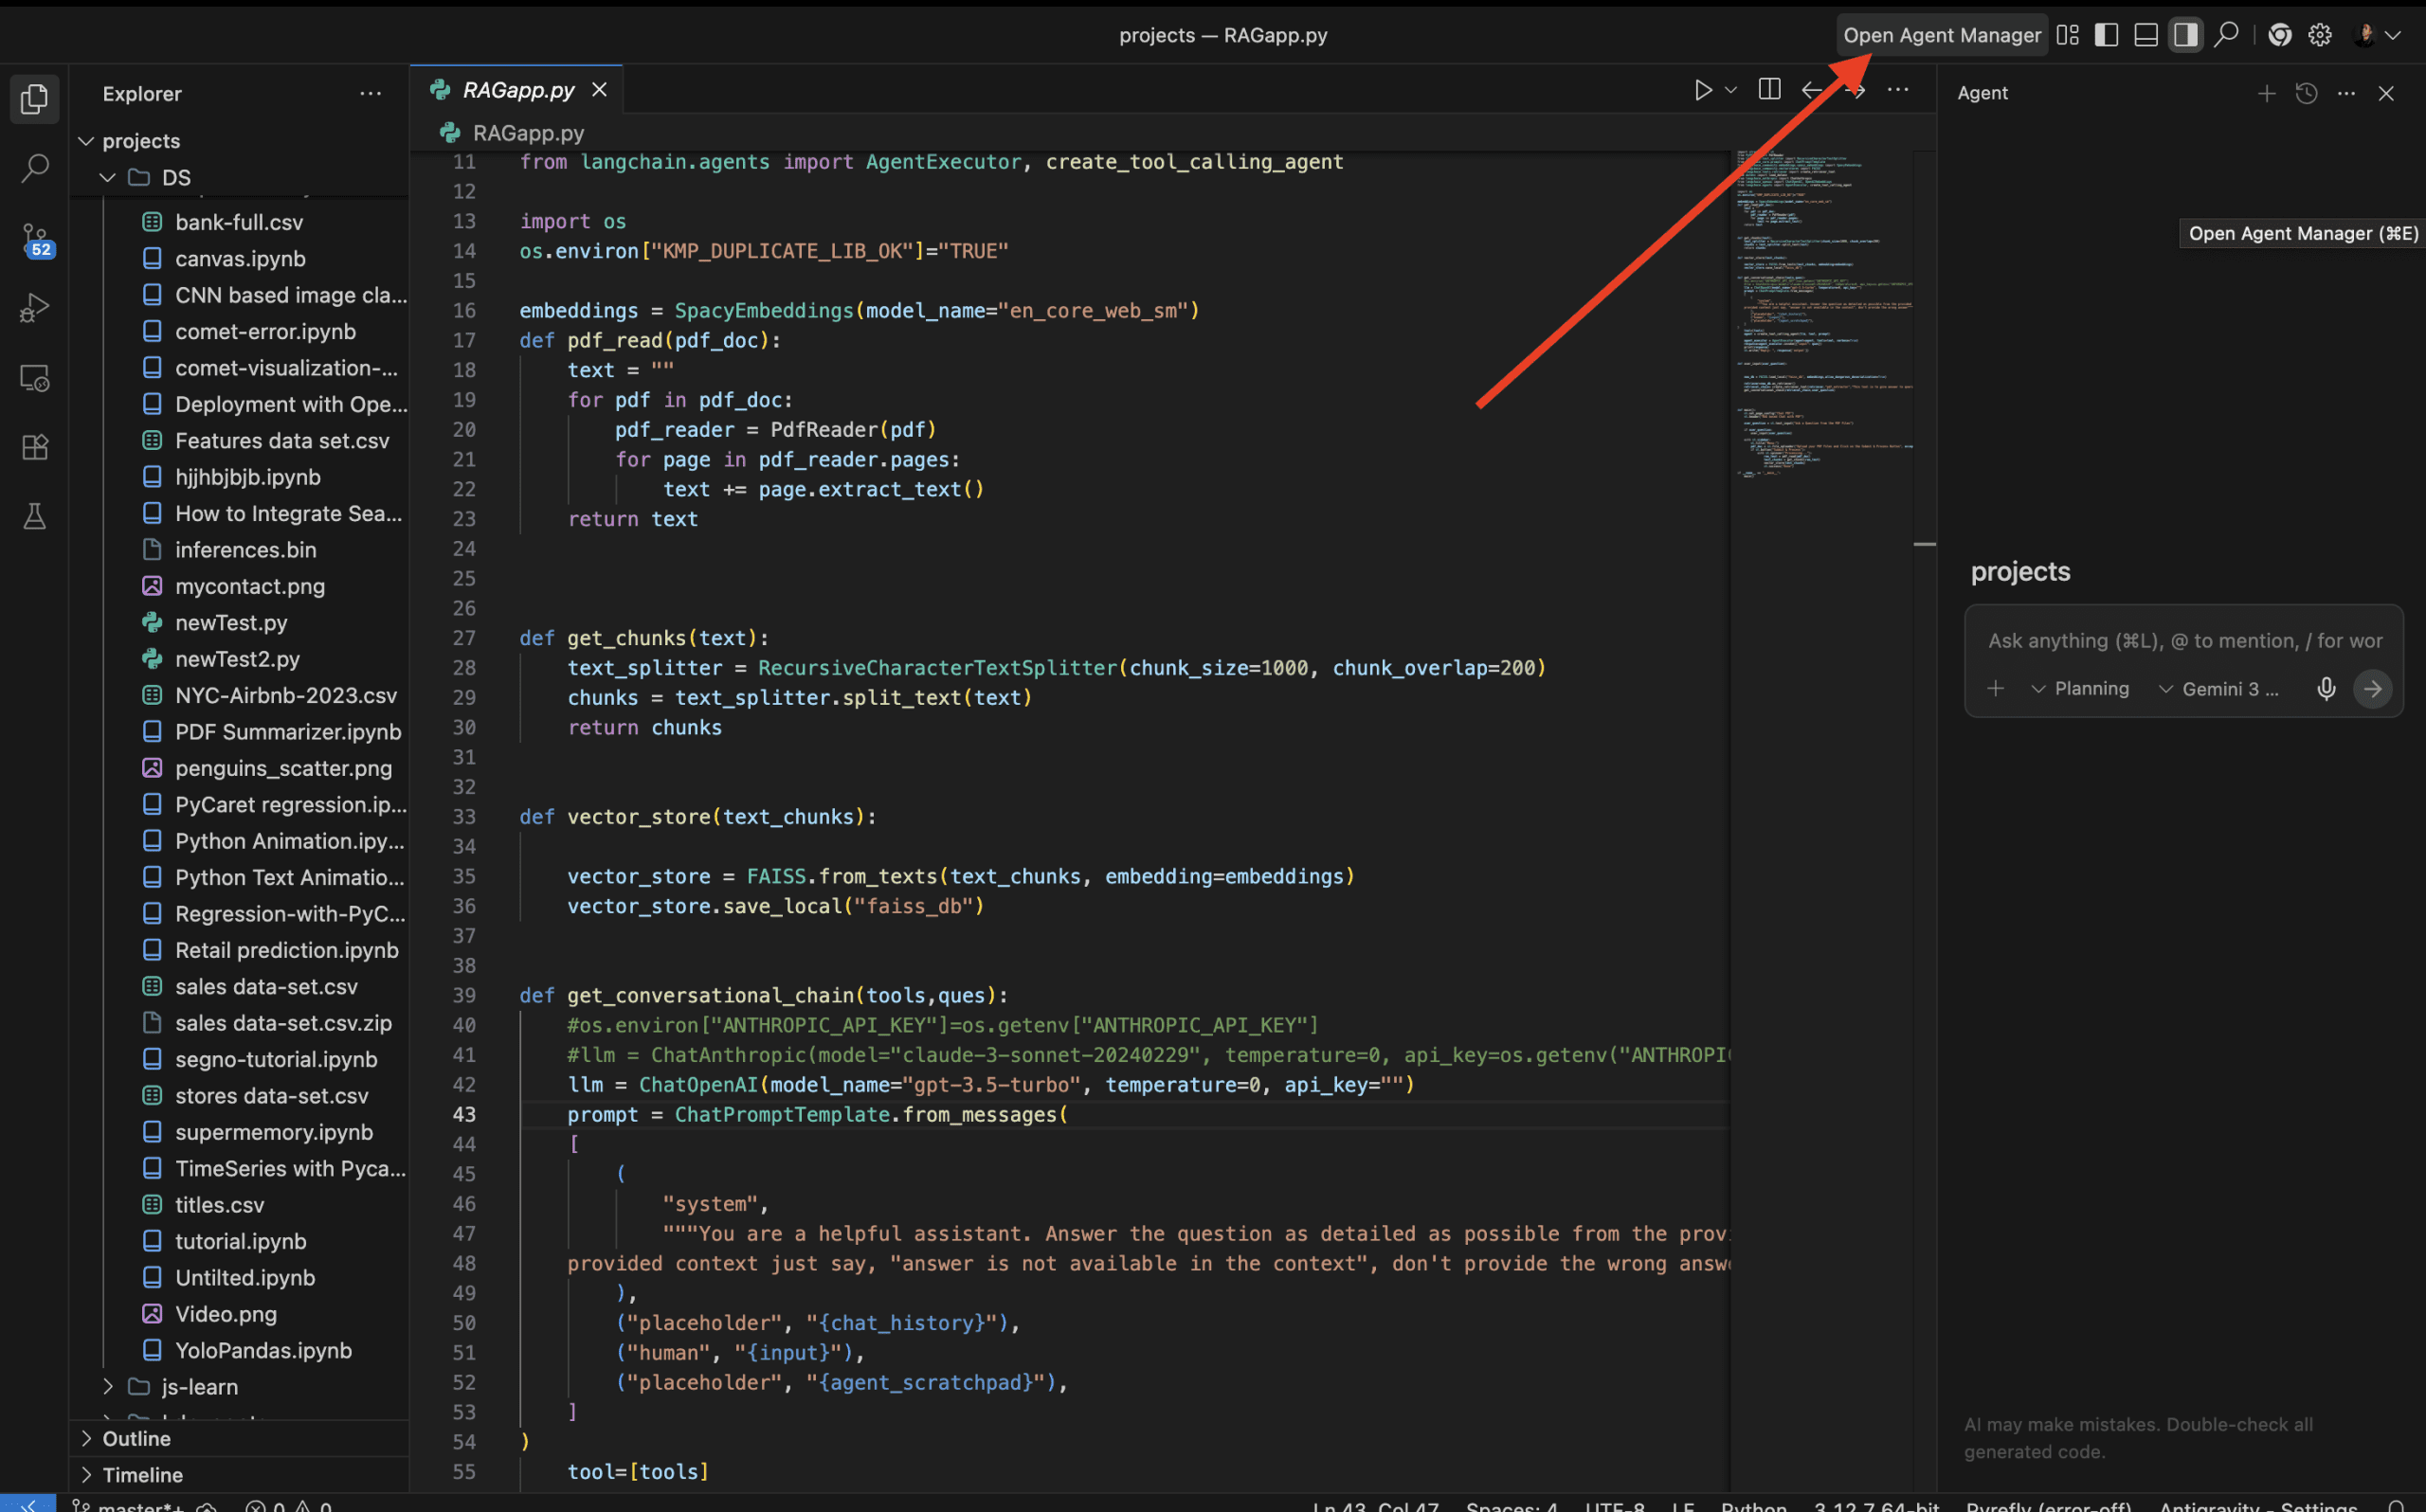
Editor Panel: Center stage. This is the VS Code environment where the agent-generated code is visible. You can still join in whenever you want and type in manually.

Chief Editor Panel in Antigravity | Image by author
Plan vs Fast Mode: In the Agent panel, you will see a toggle.
- Planning mode is for larger tasks; This creates a “plan artifact” for you to review before you start coding.
- Fast mode is for quick edits, like “center this div” or “rename this variable”

Toggling between plan and fast modes. Image by author
Agent Manager: This is your mission control. It lists each active task, shows the “logic” steps of the agent, and provides status indicators (running, success, or failed).
Management of active AI agent tasks Image by author
Artifacts Panel: Think of it as a “paper trail.” It stores specific logs, code differences and plans produced by the agent.
Reviewing generated artifacts and logs. Image by author
Browser Preview: A built-in version of Chrome. When the agent creates a web app, it automatically launches it here for testing

Testing web applications in the built-in browser Image by author
# Creating Your First Project: An Endless Runner Game
To see the power of agent-driven development, we’ll build a classic endless runner game from scratch using antigravity HTML, css And JavaScript. The goal is to create an endless runner web game where the player controls a car going uphill. Its purpose is to avoid oncoming traffic (cars moving downstream). The game increases in difficulty level (easy, medium, hard) and speed as the player progresses.
// step 1
Launch AntiGravity and create a new, empty folder. Open this folder in the IDE.
// step 2
open agent manager and click new work. Paste the following prompt into the box:
Create an endless runner game, where a car is going uphill running endlessly, other cars are coming towards him, and he has to avoid them so that he doesn’t get hit, because once he hits him, it’s game over. The game level can be changed from easy, medium, to hard, and the higher you go in the game, the faster the cars will come towards you to crash into you!

Entering a Project Prompt in Agent Manager Image by author
// step 3
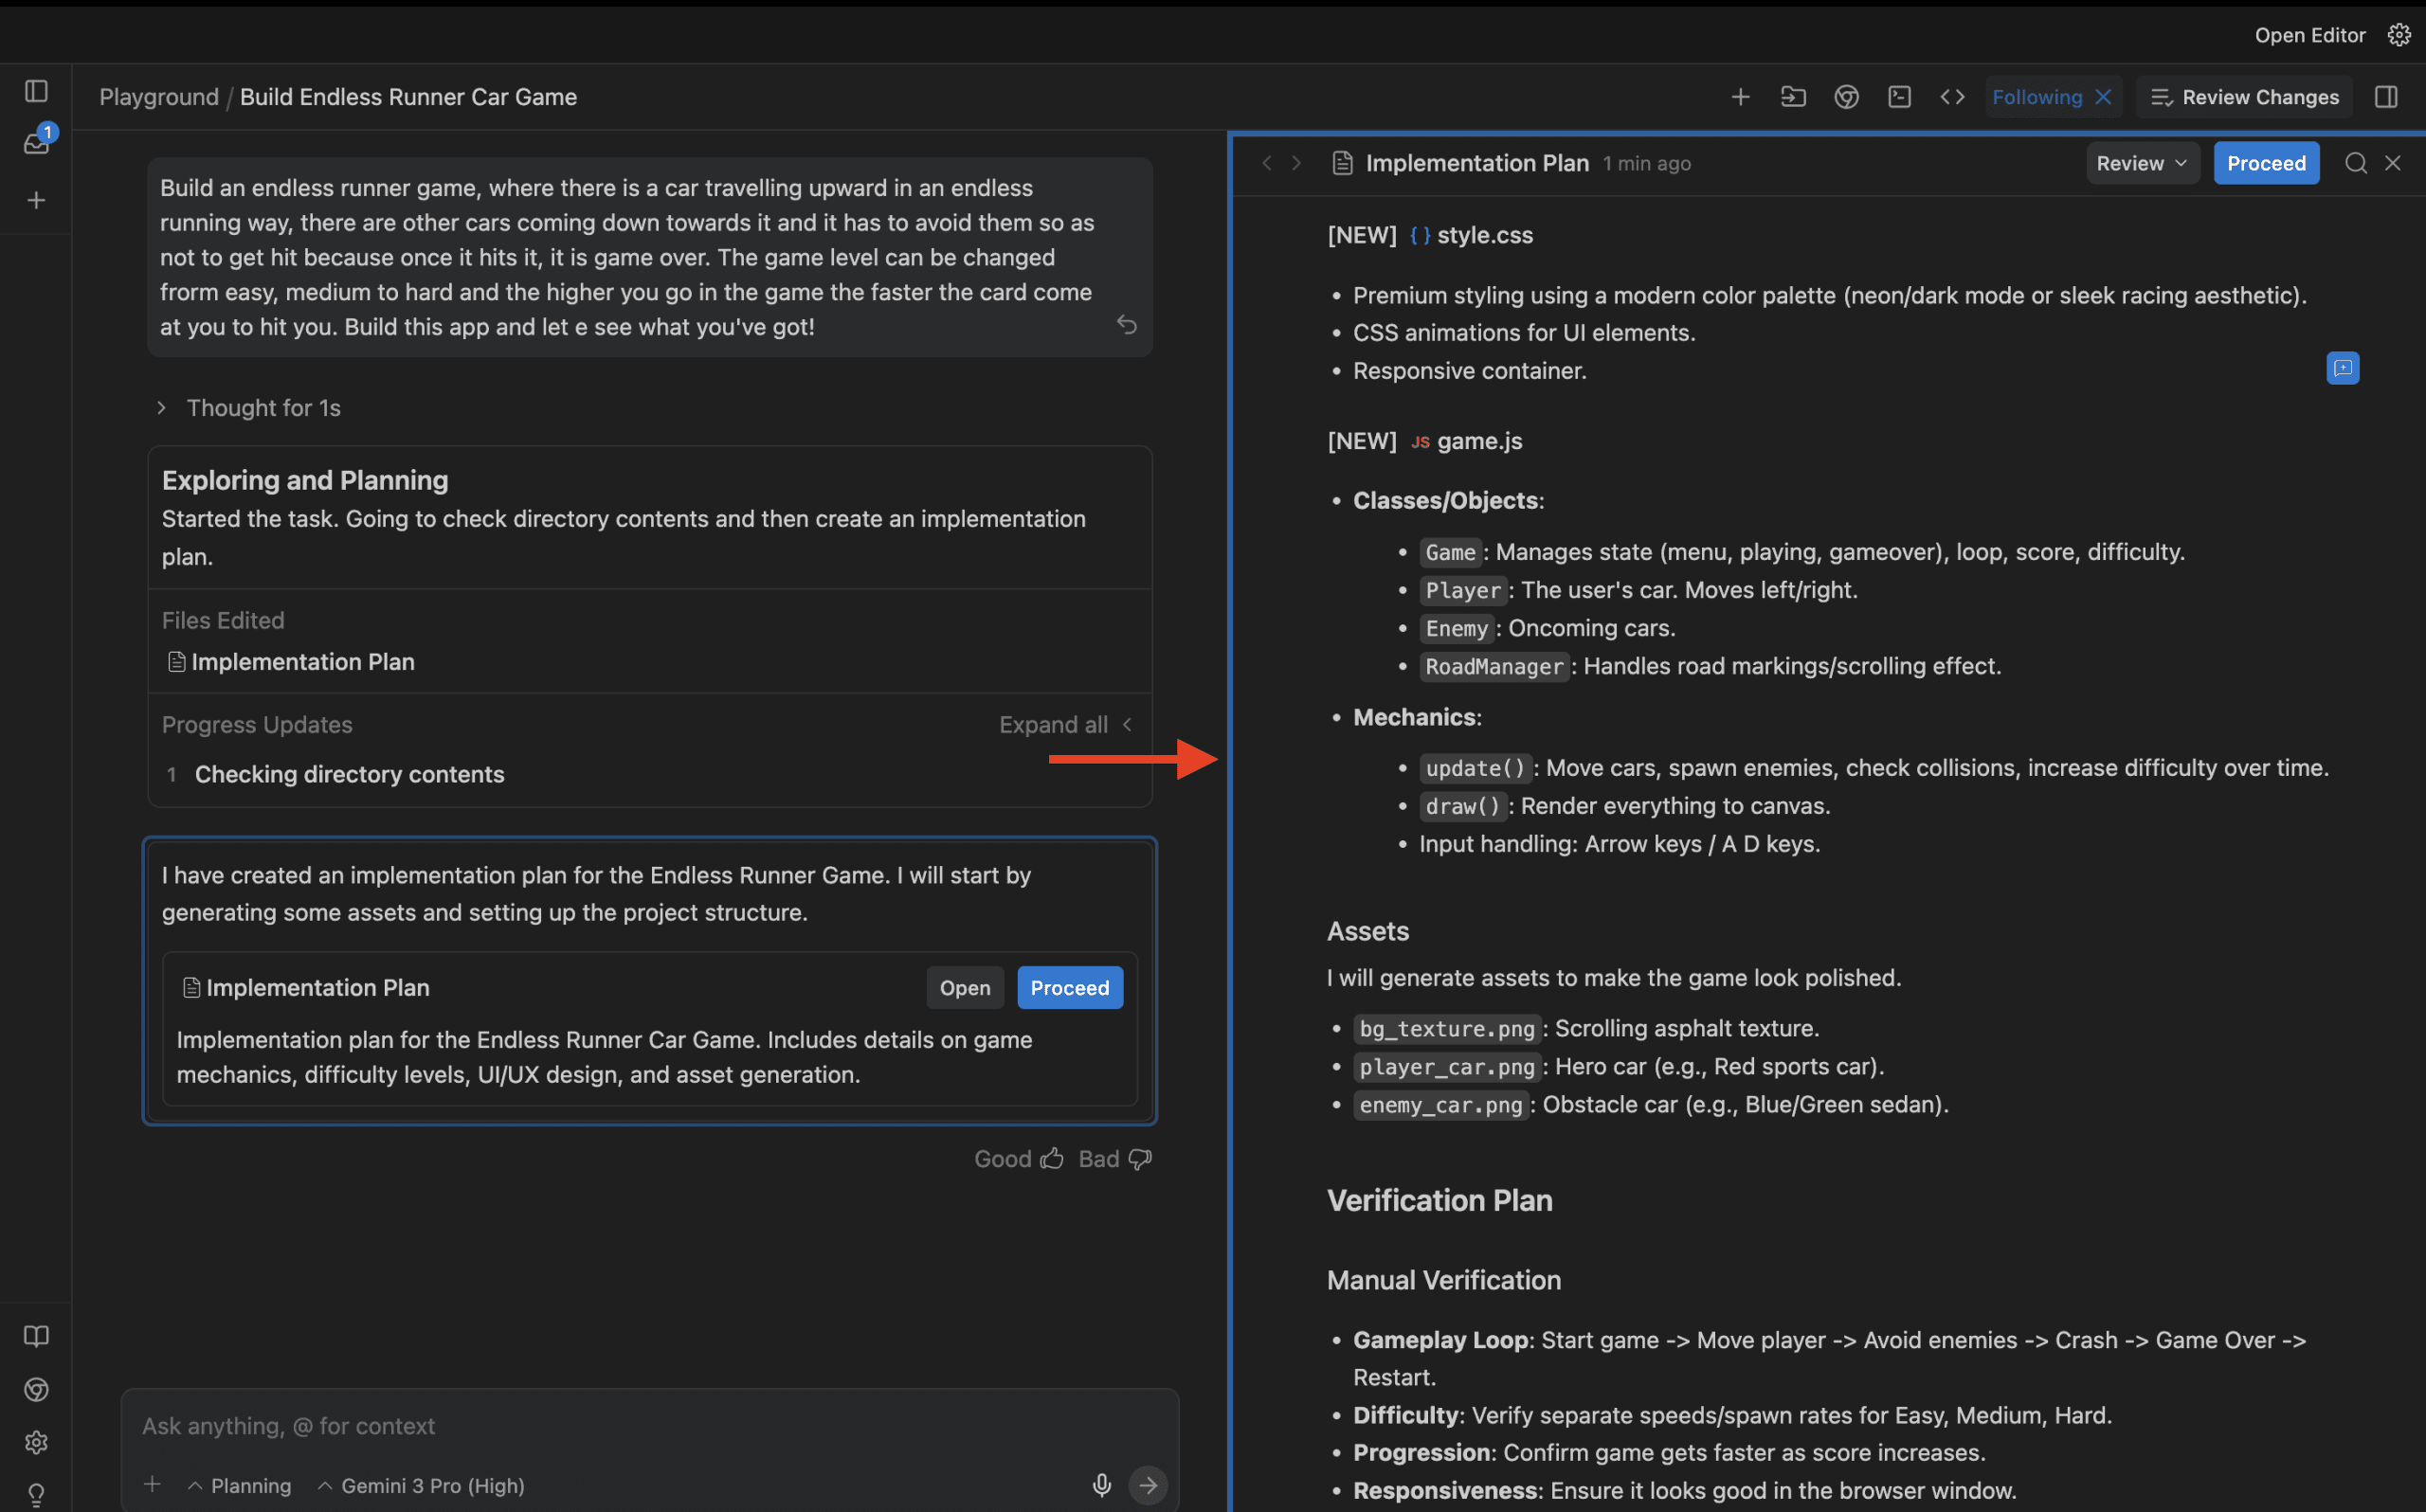
Once you press Enter, the agent starts its workflow: it analyzes the given signal and moves on to the planning phase of the project. Once this is complete, coding begins immediately. During this process you may be asked to accept some reviews. Finally, during the verification phase, the agent will attempt to actually run the script. If it encounters an error (such as a library is missing), it will automatically install the required libraries and try again.
what’s here implementation plan The one generated by the agent looks like this:

AI-Generated Implementation Plan | Image by author
Walk-through file containing the complete steps followed during the creation of the Endless Runner game:

Reviewing the step-by-step walk-through Image by author
The final output of the game is as follows:

Ultimate game interface Image by author
You move left and right to avoid oncoming cars.

Endless Runner Game Play | Image by author
If you collide with these cars, the game will be over.

Games on screen Image by author
# wrapping up
Google Antigravity is a glimpse of a future where “writing code” is just a small part of being a developer. By delegating implementation, testing, and debugging to Gemini-powered agents, you are free to focus on high-level architecture and user experience.
To get the most out of antigravity, you’ll need to change the way you communicate with your tools:
- Be specific but goal-oriented: Don’t tell the agent how to write a loop; Tell me what should be the result?
- Review the plan: In “Planning Mode”, always read the implementation plan before clicking “Approve”. This saves time in the long run
- Separate work: Give the agent one clear mission at a time. If you want to create a login page and perform a database migration, run these tasks as two separate operations in Agent Manager
Shittu Olumide He is a software engineer and technical writer who is passionate about leveraging cutting-edge technologies to craft compelling narratives, with a keen eye for detail and the ability to simplify complex concepts. You can also find Shittu Twitter.